
Zombies Aren't Real Wiki › Venice
Zombies Aren't Real Venice guide
To clear the four Zombies Aren't Real Venice levels, allow for a horde that can reach the island by more than one crossing. Our ships covered the main island from both sides, and helicopters cleared the distant docks. Even with the Weak Bridges perk, the mainland causeway stayed busy after we cut a different crossing in Jogamedev's horde-defense strategy game.
Zombies Aren't Real Venice levels and unlocks
Civilians is the level population on the campaign map. The total beside each clear is the one on our end screen and can differ from that setting. We played Venice on Normal.
Venice level 1: Put a ship south of the Grand Canal bend
- Badge
- Bronze · 6%
- Civilians saved
- 1,146 / 18,339
- Game time
- 2:36
- Top kills
- Mortar 8,604 · Battleship 8,230
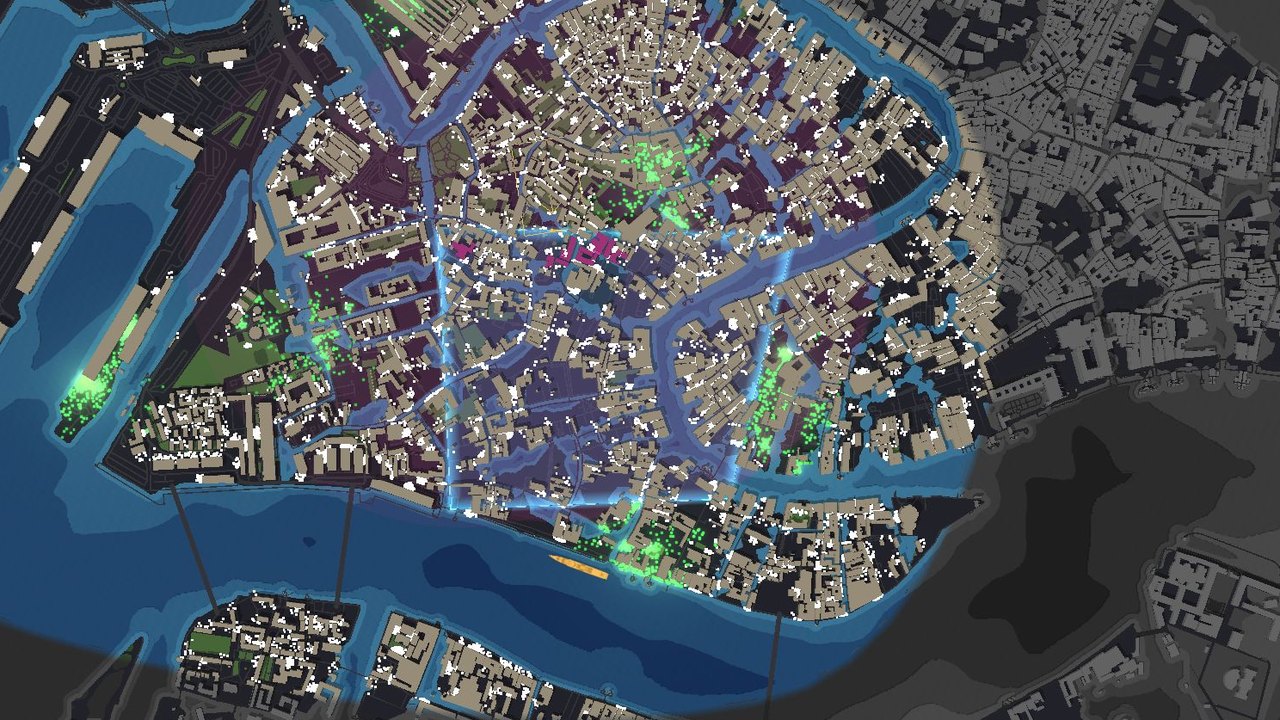
We put a battleship in the wide water south of the island where it could fire across the waterfront. Our first Venice zone straddled the central bend of the Grand Canal, with a gate facing the alleys north of the bend and mortars on the main island. To the west, thin strips of docks ran past long basins, with few streets between them.
The north gate area and the western end of the south wall both broke. Civilians left alive fell from about 13% to 6%. We called a helicopter over the western docks, well away from the surviving streets. The ship nearly matched the mortars on our Venice level 1 clear.
Venice level 2: Cover both shores before working on the double bridge
- Badge
- Diamond · 30%
- Civilians saved
- 12,492 / 41,043
- Game time
- 4:02
- Top kills
- Battleship 19,252 · Mortar 5,831
Venice level 2 extends east into the shipyards and south along a string of islands. We built north from the old wall and kept the first ship in place. A second ship went in the northern bay. A place of worship supplied Militia and a Hotel supplied Repair. We had 14% inside the boundary before the outbreak.
We tried C4 on the west span of the southern double bridge while the ships kept firing into the city. The bridge took damage and traffic continued. Helicopters worked the far eastern shore and the west docks. This time the blue perimeter around the main district lasted until the clear. It was our best Venice badge despite the crossing staying open.
Venice level 3: Reach the mainland port without moving the island zone
- Badge
- Gold · 25%
- Civilians saved
- 20,469 / 79,849
- Game time
- 13:37
- Top kills
- Helicopter 28,366 · Battleship 23,910
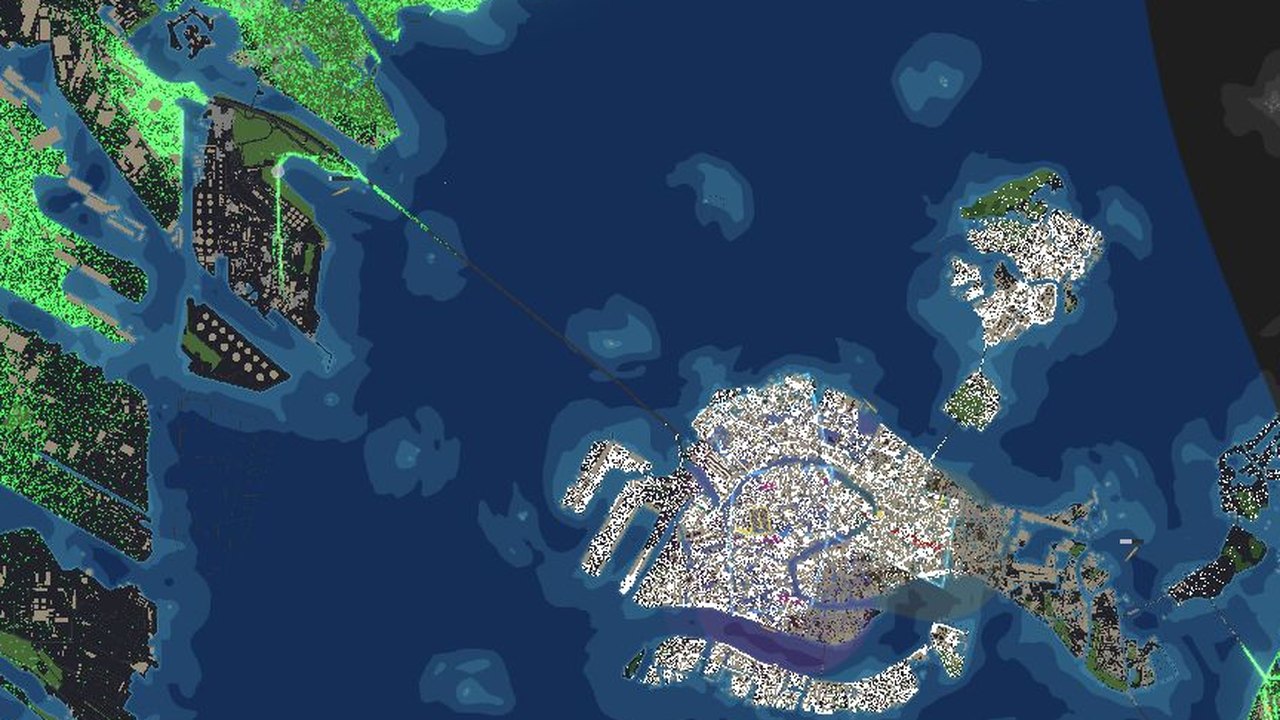
Venice level 3 opens the northwestern industrial port, a northeastern island and the Lido to the southeast. The existing zone still enclosed 7% in planning. We left it on the main island and put our third ship at the mainland port. More mortars covered the southern wing and northeast side, with a Chemical Mine at the west dock entrance.
A garrison near the approach also gave us somewhere to use the new Seek & Destroy card. For the fights too far from that building we used helicopters over the industrial district, the southeast waterway and the northeast island. Air and sea support accounted for the two largest kill totals in this Venice battle.
Venice level 4: Watch the mainland causeway after cutting the bridge
- Badge
- Silver · 15%
- Civilians saved
- 31,464 / 206,079
- Game time
- 10:20
- Top kills
- Battleship 27,416 · Helicopter 19,243
On the full Venice map the old district started with only 2% of civilians inside. We extended north and east along shared walls, reaching 7%, and used Repair from a Historic Site, Cafe and Hotel. We placed Fire Mortars in the eastern district. Four ships now covered the old island and the newer port approaches.
One Airstrike broke the weak double bridge we had tested on the two earlier Venice levels. Large crowds still had the long northwestern causeway from the mainland. We sent helicopters along it and out to the industrial port and southeast islands. The main island still held a large crowd when the last zombies timed out.
What held the Venice islands
On our Venice level 1 layout the south ship could keep firing even when a wall near the canal had broken. Adding a ship in the north bay gave us coverage on the other side of the island. Later the open fights were often a whole island away from that first ship. We saved helicopter calls for those isolated crowds and watched the causeway whenever we spent a card on another bridge.
Venice perk: Weak Bridges
With Weak Bridges, each Venice bridge span starts at 28% of its usual health, with a minimum of 100 HP. Select a bridge to read its health: watching the crowd vanish into an explosion tells you little. The two spans we tested shared one reading. Clearing Venice makes Weak Bridges available for other maps. See the bridge rules for the other crossings.
Venice campaign questions
- Will one C4 close the double bridge in Venice?
- No. On Venice level 2 the selected bridge went from 520 to 290 HP after one C4. The deck stayed in place. On the next level we tried three C4s on the same spot. They disappeared together and the bridge still showed 320 of 520 HP.
- Where did the officers from Seek & Destroy come from in Venice?
- From a garrisoned building outside the wall. We used the card on it in Venice level 3 and ten officers came out. The result credited Seek & Destroy with 180 kills.
- How much did the Airstrike that cut the Venice double bridge cost?
- 2 SP. One Airstrike order in Venice level 4 removed both spans across that crossing. The long mainland causeway was still carrying zombies afterward.
Comments
Site
No comments yet. Ask a question or share what worked in your runs.